
Where to go
Appointments → Website widgets; Website editor → Add → Appointment calendar
Before you start
Save an active appointment option and available hours first. Publishing needs a paid plan.
Step by step
-
Open Website widgets and choose the appointment option you want visitors to book.
-
Choose Inline calendar to show times on the page, or Appointment button to open the calendar when clicked.
-
Use the preview to check the option, duration, dates, and available times.
-
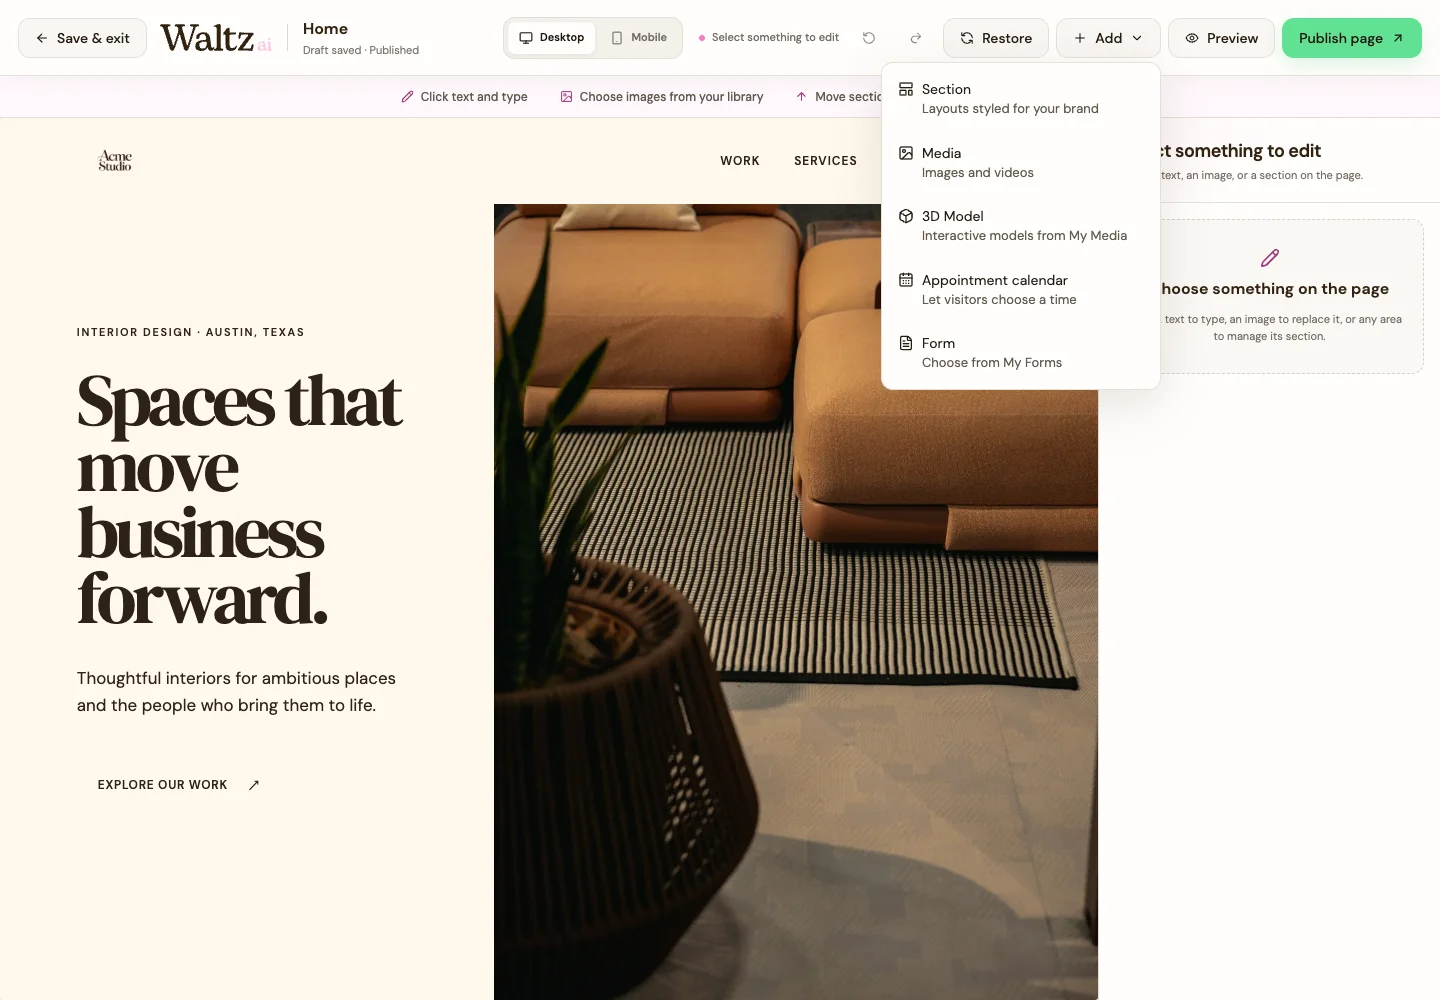
Open the website editor. Select the area for your calendar and choose Add → Appointment calendar.
-
Choose the option and display style, then add the calendar. Explain what visitors are booking in the nearby text.
-
Preview the page, save your draft, and publish when ready. Make a test booking from the published page and confirm the record in Appointments.
See the steps
Use these views to find the controls as you follow the guide.
What happens next
Your published page offers the appointment calendar or button you selected.
Helpful tips
-
If there are no options to choose, create or activate one first.
-
Use Copy link to share your booking page. Open the link in a separate browser window and check the appointment option and available times before sending it.