
Where to go
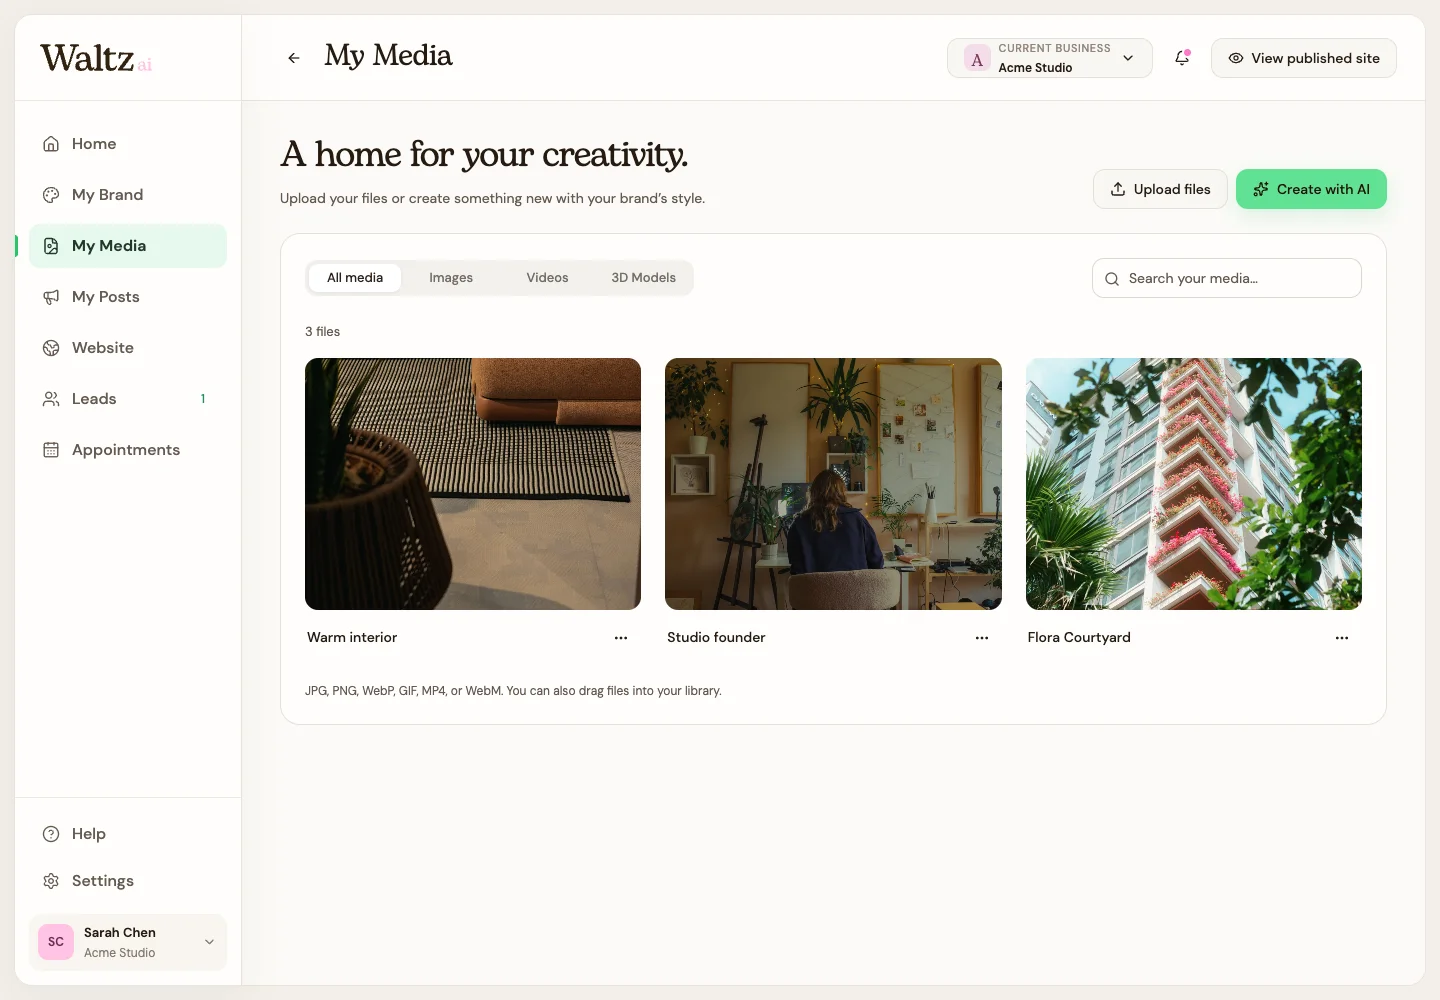
My Media → Upload files
Before you start
Supported image types: JPG, PNG, WebP, GIF, up to 20 MB. Supported video types: MP4, WebM, up to 50 MB.
Step by step
-
Choose Upload files, or drag files into the library. Choose supported file types and wait for the upload confirmation.
-
Use Images, Videos, or All media and search to find a file.
-
Open a file to preview it. Use Rename to give it a useful name, such as “Kitchen project — hero image.”
-
Choose Download to keep a copy of a file. Review it before sharing it.
-
Choose a saved file in the website editor or My Posts media picker when you need it.
-
To remove a library file, choose Delete and review the confirmation. Check existing pages and posts that use the file separately.
See the steps
Use these views to find the controls as you follow the guide.
What happens next
Your file appears in My Media and can be selected for new work.
Helpful tips
-
Uploading a file does not consume an AI creation allowance.
-
The website editor’s direct image upload limit is smaller: less than 5 MB.
-
If a file fails, check its type and size, then try again.